
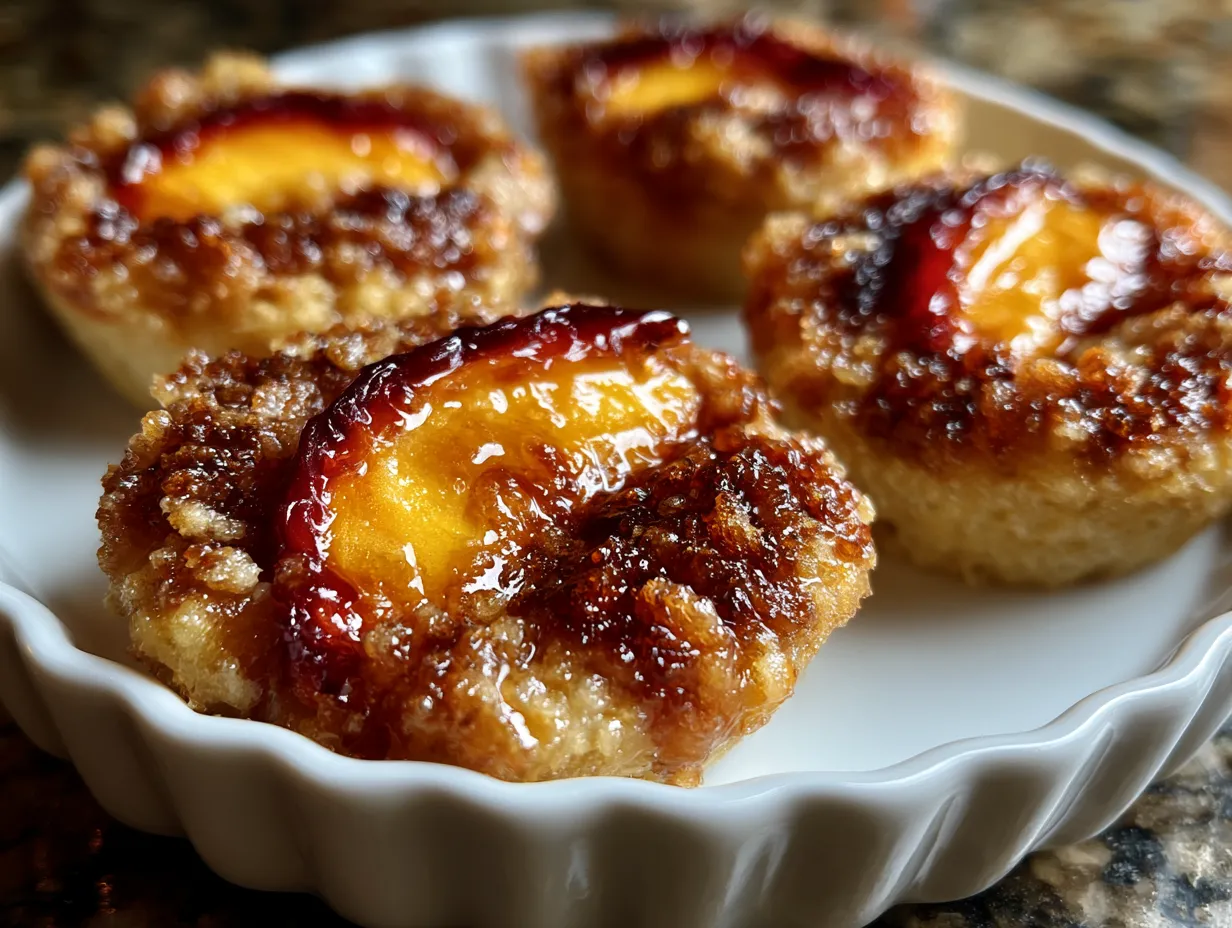
Can a warm, single-serving dessert be the game-changer for busy moms needing quick, nourishing sweetness? If you’ve ever craved that comforting taste of a peach crisp but didn’t want the hassle of serving or leftovers, Individual Peach Crisp Cups step in as the perfect solution. These mini peach crisps deliver all the fruity, crumbly goodness in just the right portion, making them ideal for family snacks, after-dinner treats, or even a lunchbox surprise.
The beauty of Individual Peach Crisp Cups lies in their simplicity and adaptability. You get that golden, buttery crisp topping giving way to tender, fragrant peaches bubbling underneath—all in a perfectly sized cup. Compared to traditional peach crisp recipes that usually bake in a large dish, these cups save time, reduce waste, and make dessert prep a breeze. Plus, their portion-controlled desserts are a practical fit for managing picky appetites and busy schedules.
From the moment they come out of the oven, the aroma of cinnamon and baked peaches fills your kitchen, creating a cozy atmosphere that invites everyone to gather around. The topping’s crunch contrasts with the juicy peaches, making each bite a delightful mix of textures and flavors. Whether you serve them plain, with a scoop of vanilla ice cream, or a dollop of Greek yogurt, these individual fruit crisps feel like a warm hug on a plate.
In the next sections, I’ll share everything you need—from a budget-friendly ingredients list to step-by-step baking instructions and creative serving ideas—to make your own Individual Peach Crisp Cups. You’ll find practical tips for busy family life, like prepping ahead or swapping ingredients without sacrificing flavor. Let’s bring this easy, wholesome dessert into your home rotation, where family meals meet sweet moments effortlessly.
Ingredients for Individual Peach Crisp Cups
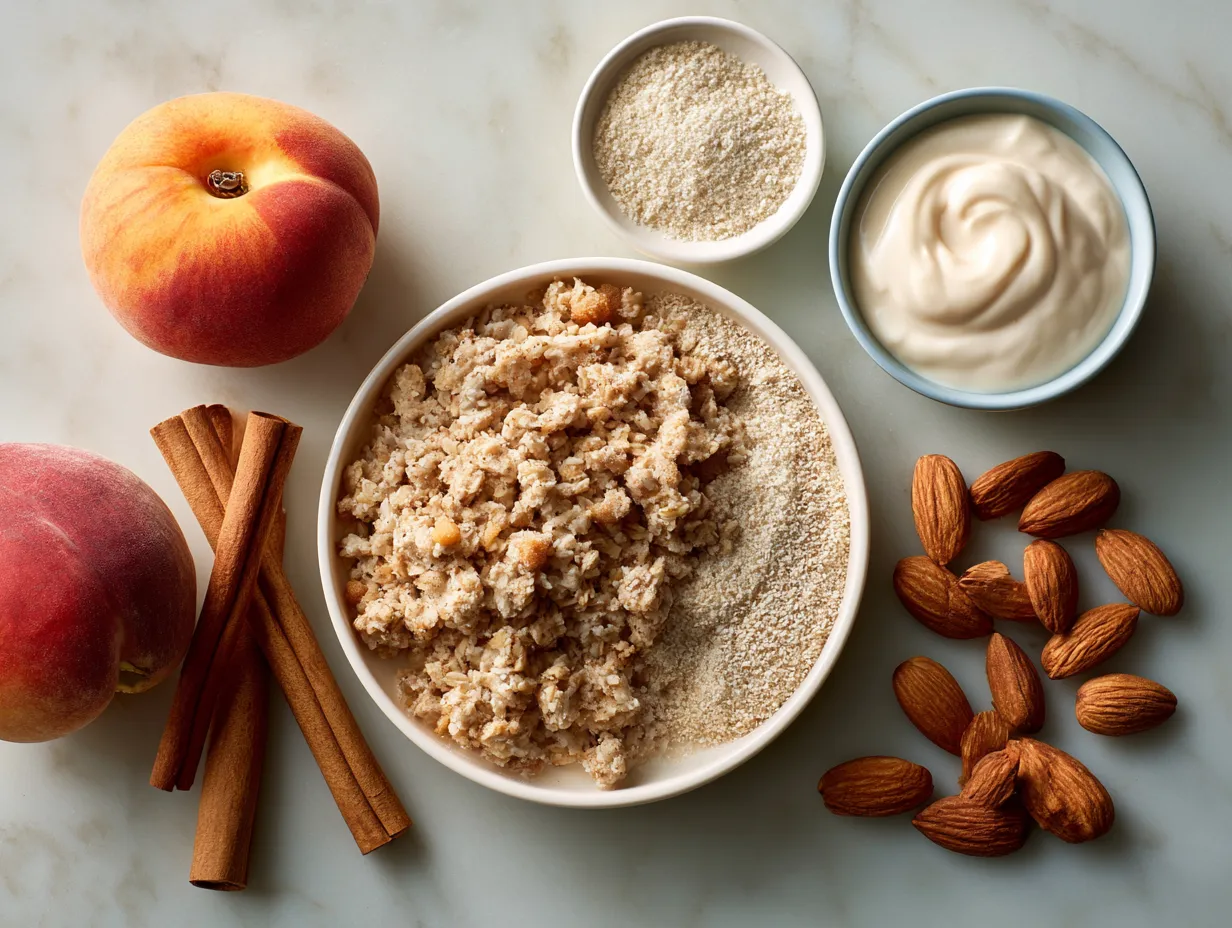
3 cups fresh peaches, peeled, pitted, and sliced (about 4 medium peaches)
Swap: Use frozen peaches (thawed and drained) for off-season or budget-friendly options.
2 tablespoons granulated sugar
Swap: Brown sugar or coconut sugar works well for a richer flavor.
1 teaspoon lemon juice (freshly squeezed)
Tip: Lemon juice brightens the peaches and balances sweetness.
½ teaspoon ground cinnamon
Swap: Add a pinch of nutmeg or ginger for a warm spice variation.
⅛ teaspoon salt
¾ cup old-fashioned rolled oats
Budget option: Use quick oats, but rolled oats create a better crisp texture.
⅓ cup all-purpose flour
Swap: For gluten-free, use a cup-for-cup gluten-free flour blend.
⅓ cup brown sugar (packed)
Swap: Maple sugar or coconut sugar can be substituted in equal amounts.
⅓ cup cold unsalted butter, cubed
Budget swap: Use margarine or vegetable shortening, but butter gives the best flavor.
1 teaspoon vanilla extract
Optional: Adds depth to the crisp topping but can be left out in a pinch.
Steps to Make Individual Peach Crisp Cups
1. Preheat your oven to 350°F (175°C). This ensures even baking, and the aroma starts filling the kitchen right away.
2. Prepare the peaches: In a large bowl, toss the sliced peaches with the granulated sugar, lemon juice, cinnamon, and salt. Mix gently but thoroughly until peaches are well coated. Tip: You’ll smell the spices mingling with the fresh fruit – this signals ready-to-bake fruit base.
3. Make the crisp topping: In a separate bowl, combine the oats, flour, and brown sugar. Work in the cold butter with a pastry cutter, two forks, or your fingers until the mixture resembles coarse crumbs. Stir in vanilla extract if using. Mistake to avoid: Use cold butter to achieve that crumbly texture—room temp butter will make it mushy.
4. Divide the peach mixture evenly into greased ramekins or oven-proof cups. Approximately 4-6 cups depending on size and family. Tip: Leaving about a half-inch space at the top will prevent overflow during baking.
5. Sprinkle the crisp topping over each cup evenly. Pat lightly to help it adhere but don’t compact.
6. Bake for 30-35 minutes or until the topping is golden brown and the peach juices are bubbling. You should see steam rising and hear gentle bubbling sounds—a sign the fruit is perfectly cooked. Mistake to avoid: Overbaking can dry out the peaches; underbaking leaves topping soggy.
7. Cool for 5-10 minutes before serving. This resting period allows juices to thicken slightly and makes spooning easier.
8. Optional: Add a scoop of vanilla ice cream or a dollop of whipped cream right before serving for an extra-special touch.
Presentation Ideas for Individual Peach Crisp Cups
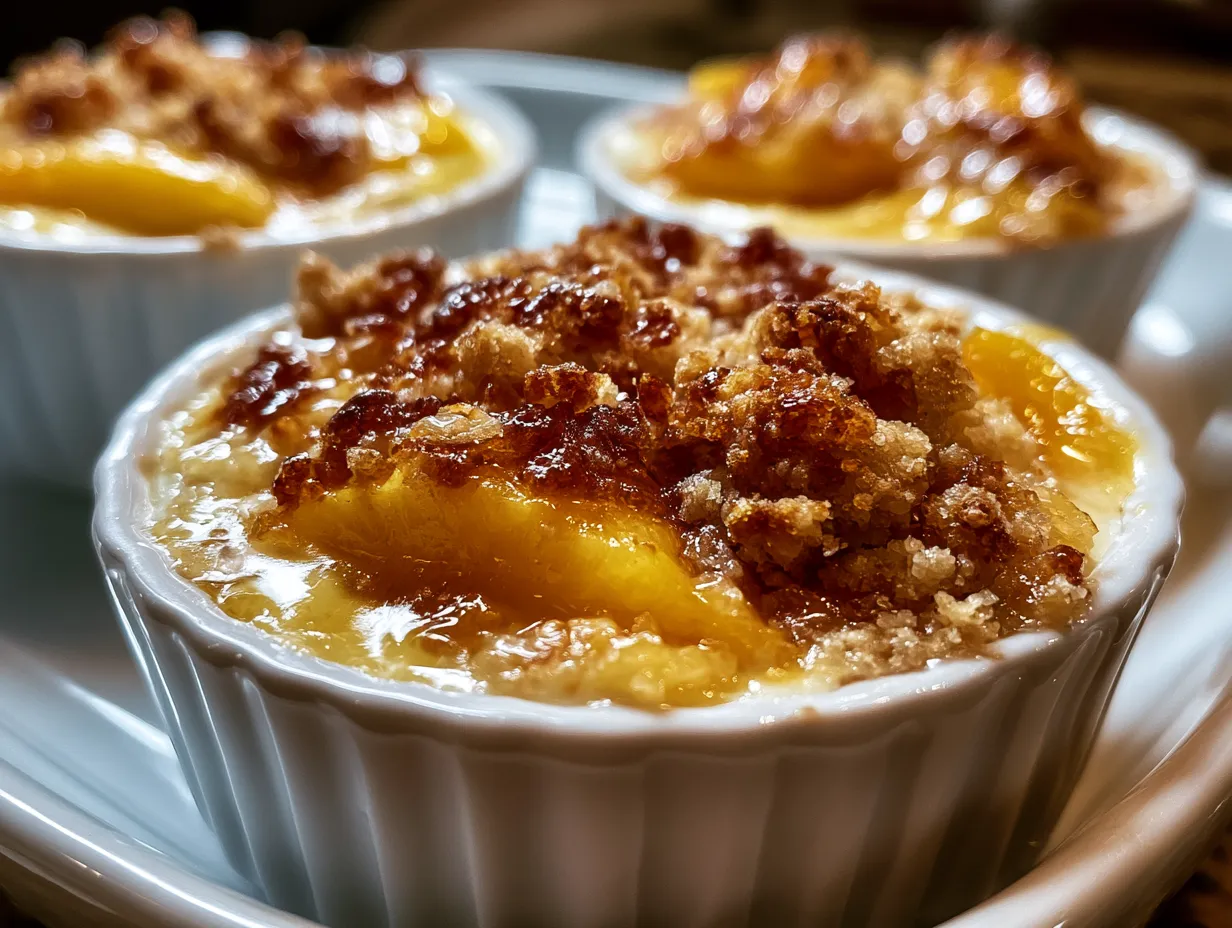
Individual Peach Crisp Cups are versatile for many family occasions. Serve them warm straight from the ramekin, letting the glistening peach juices peek around the golden crumble topping. They’re perfect for casual weekday treats or weekend family dinners where everyone gets their personal dessert, eliminating the “who gets the extra piece” debate.
Pair these mini peach crisps with a simple scoop of vanilla bean ice cream for a classic southern-inspired flavor combo. For a lighter approach, try a spoonful of Greek yogurt swirled with a drizzle of honey—this adds creaminess and a subtle tang that complements the sweet peaches.
These cups work brilliantly as a portable dessert for picnics or potlucks. Just cover each ramekin with foil or a reusable lid. The portion-controlled desserts reduce the pressure of cutting and serving, making clean-up quicker and easier.
Consider topping with chopped toasted pecans or slivered almonds for added crunch and a nutty aroma that enhances the overall experience. You can also add a sprinkle of fresh mint leaves for a pop of color and freshness.
At family brunches, serve the crisp alongside savory dishes like scrambled eggs or ham for a balanced mix of sweet and hearty. Their charming presentation also makes them a natural fit for holiday meals or small gatherings, bringing warmth and easy elegance to the table.
FAQs About Individual Peach Crisp Cups
Q1: Can I prepare these mini peach crisps ahead of time? Yes! You can assemble them a day before baking. Store covered in the refrigerator and bake fresh the next day. This prep saves precious time on busy evenings.
Q2: What can I do if peaches aren’t in season? Frozen peaches work well—just thaw and drain excess liquid. You may need to reduce sugar slightly if your peaches are especially sweet.
Q3: Can I make these dairy-free? Use a plant-based butter substitute to keep the topping crumbly and buttery in flavor without dairy.
Q4: Is it possible to make this recipe gluten-free? Definitely. Swap all-purpose flour for a gluten-free blend, and ensure oats are labeled gluten-free to avoid contamination.
Q5: What size ramekins or cups should I use? Ramekins around 6 ounces work best for the right portion size—perfect for individual indulgences without leftovers.
Q6: How do I know when the crisp is done? Look for a golden brown topping and bubbling peach juices at the edges. The aroma will also be rich with cinnamon and baked fruit.
Q7: Can I freeze these after baking? Yes, freeze individually wrapped cups before or after baking. Thaw and warm gently in the oven before serving, though fresh is best for texture.
Conclusion: Bringing Individual Peach Crisp Cups into Your Family Life
Individual Peach Crisp Cups are a deliciously practical addition to any busy mom’s recipe box. They offer quick prep, controlled portions, and that nostalgic comfort food vibe without the fuss of a large dessert. These mini peach crisps give you the flexibility to enjoy fresh summer flavors year-round, with easy ingredient swaps to suit any pantry or dietary need.
Try experimenting with topping additions like nuts or oats variants, or mix peaches with berries for a flavor twist that keeps your family’s taste buds excited. Serving these cups warm after dinner rewards you and your loved ones with a sweet moment that feels homemade and thoughtful, even on the busiest days.
Don’t hesitate to make this peach crisp recipe your own—whether for weekday desserts or special occasions, these individual fruit crisps bring joy, simplicity, and wholesome flavor to your table. Ready to add this quick family favorite to your dessert repertoire? Let the aroma of baked peaches and cinnamon inspire cozy moments and satisfied smiles with every bite.
For more fruit-inspired recipes and wholesome meals, check out my Old Fashioned Fresh Peach Crisp, Low Sugar, Peach Tomato Panzanella Fresh Summer Salad, and Southern Peach Cobbler with Oat Flour and Honey. You can also explore other Individual Peach Crisp Cups recipes or try unique variations like the Mini Peach Crisp with Blueberries or Small Batch Peach Crisp for family-friendly treats.
Individual Peach Crisp Cups

Delight in these easy-to-make Individual Peach Crisp Cups featuring juicy peaches and a crunchy oat topping, perfect for a cozy dessert or snack.
- Prep Time: 10 minutes
- Cook Time: 30 minutes
- Total Time: 40 minutes
- Yield: 4 servings
- Category: Dessert
- Method: Baked
- Cuisine: American
Ingredients
- 4 ripe peaches, peeled and sliced
- 2 tablespoons granulated sugar
- 1 teaspoon lemon juice
- 1/2 teaspoon cinnamon
- 1/4 teaspoon nutmeg
- 3/4 cup old-fashioned oats
- 1/4 cup all-purpose flour
- 1/4 cup brown sugar
- 1/4 teaspoon salt
- 1/4 cup unsalted butter, melted
Instructions
- Preheat oven to 350°F (175°C).
- In a bowl, toss peach slices with granulated sugar, lemon juice, cinnamon, and nutmeg; set aside.
- In another bowl, combine oats, flour, brown sugar, and salt. Stir in melted butter until mixture is crumbly.
- Spoon peach mixture evenly into four greased ramekins or small oven-safe cups.
- Top each with the oat crumble mixture.
- Bake for 25–30 minutes until topping is golden and peaches are bubbly.
- Let cool slightly before serving. Optionally, serve with vanilla ice cream or whipped cream.
Notes
For extra crunch, sprinkle chopped pecans or walnuts into the oat topping before baking.