
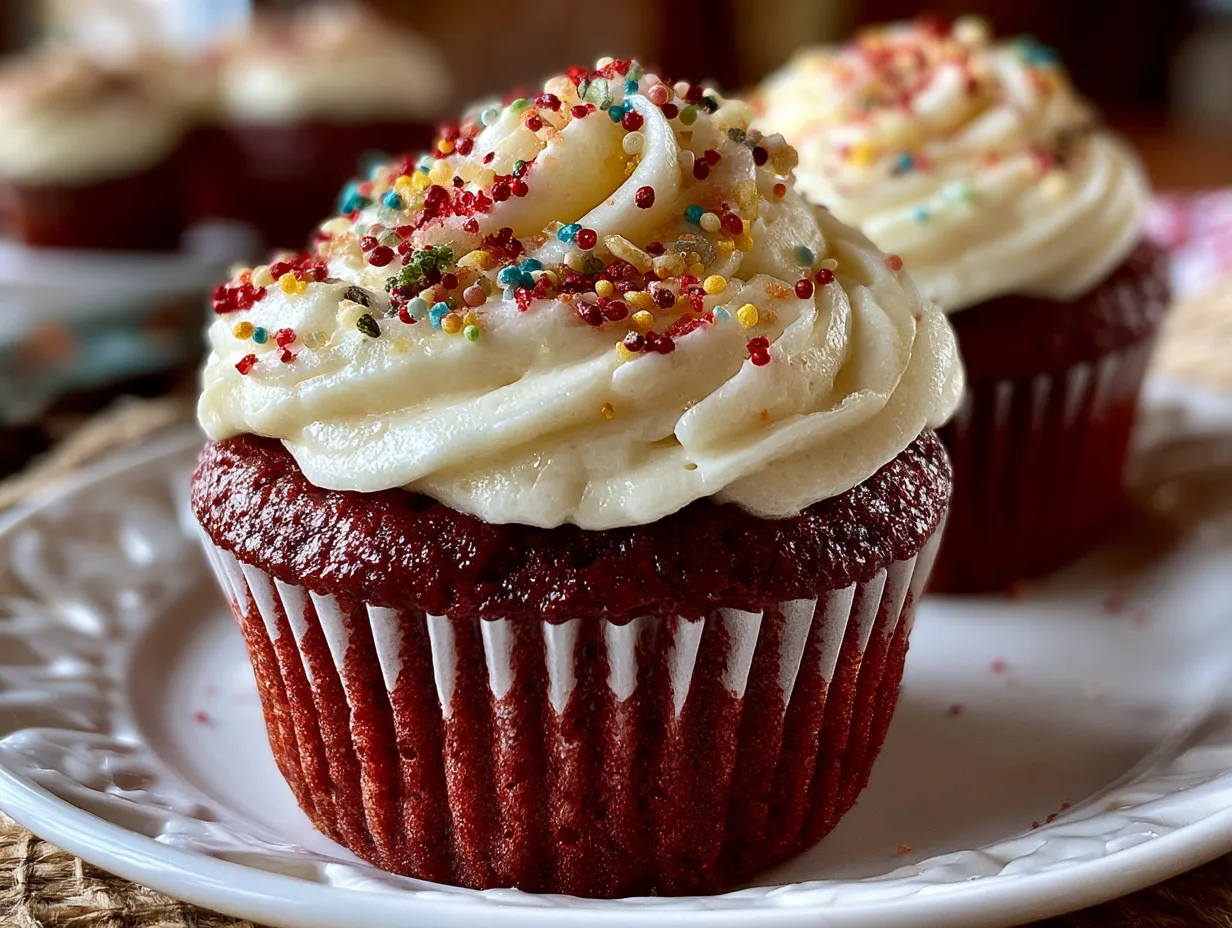
The moment you open the oven, the aroma of homemade red velvet cupcakes envelopes your kitchen with a warm, inviting hug. The gentle cocoa scent mingles with a faint tang — a prelude to the rich, moist red velvet cake you’ll soon enjoy. Picture biting into the soft crumb, a perfect balance of subtle chocolate and a hint of vanilla, topped with luscious, smooth cream cheese frosting that teases your taste buds. For busy moms like us, whipping up this red velvet cupcake recipe is both a joyful tradition and a quick win when you want to brighten the family’s day with something special but fuss-free.
Ingredients for Homemade Red Velvet Cupcakes
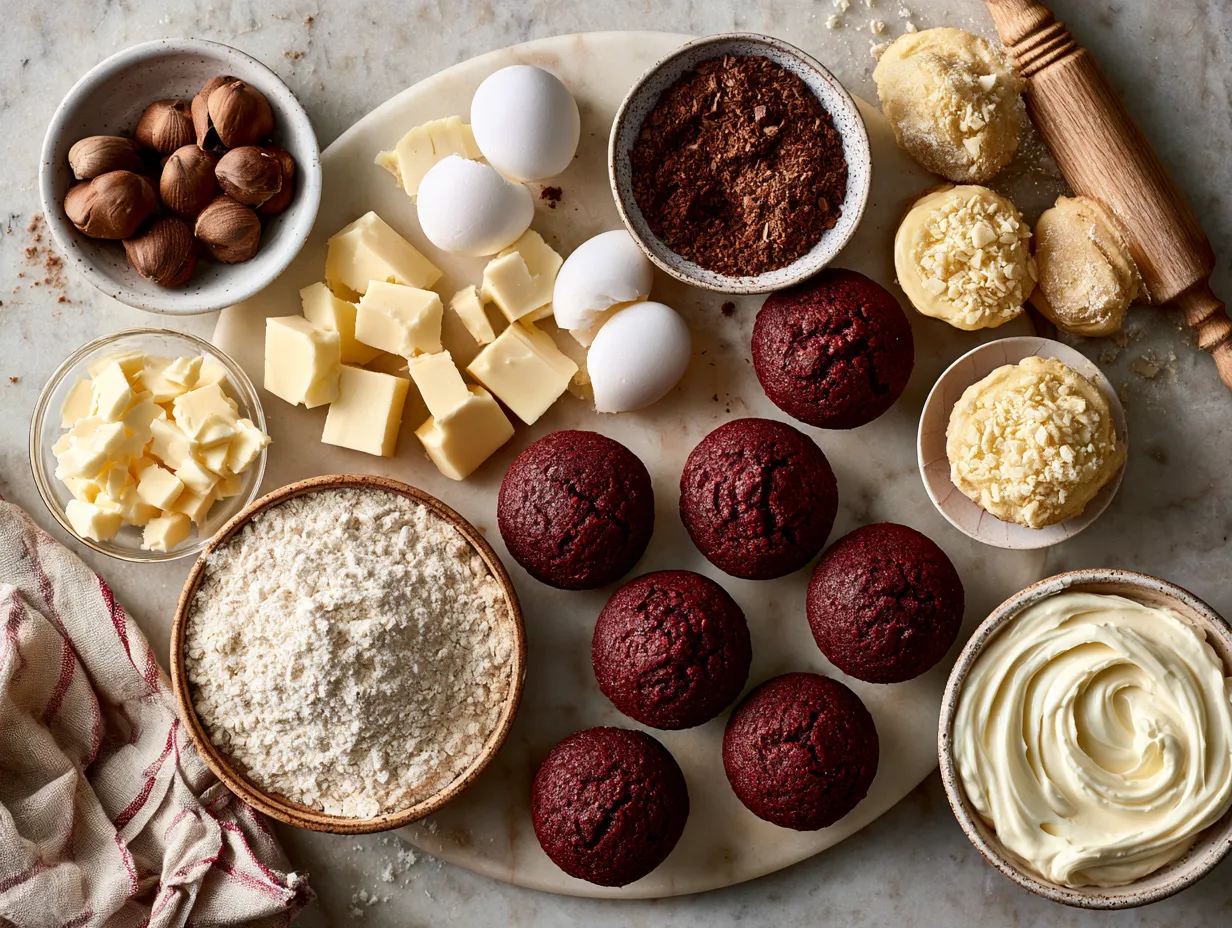
Gather these pantry staples to create your perfect batch of homemade red velvet cupcakes. I’ll also share budget-friendly swaps and allergy-conscious alternatives.
- 1 ½ cups all-purpose flour (swap for gluten-free flour blend if needed)
- 1 cup granulated sugar (coconut sugar works well for a subtle caramel note)
- 1 teaspoon baking soda
- ½ teaspoon salt
- 1 tablespoon unsweetened cocoa powder (use natural cocoa, not Dutch-processed)
- 1 cup buttermilk, at room temperature (or substitute with 1 cup milk + 1 tablespoon vinegar)
- ½ cup vegetable oil (can sub with light olive oil or melted coconut oil)
- 1 large egg, at room temperature (substitute with flax egg: 1 tablespoon flaxseed meal + 3 tablespoons water)
- 1 tablespoon white vinegar (helps achieve that classic tender crumb and mild tang)
- 2 teaspoons pure vanilla extract
- 2 tablespoons red food coloring (liquid or gel; gel gives a more vibrant color with less)
For the cream cheese frosting:
- 8 oz cream cheese, softened (full fat for best texture)
- ½ cup unsalted butter, softened
- 3 cups powdered sugar, sifted
- 1 teaspoon vanilla extract
A few notes: Using room temperature ingredients really helps the batter come together smoothly and prevents curdling. Avoid skipping the vinegar—it activates the baking soda, aiding the rise and that true red velvet flavor depth. For cost-conscious baking, the vinegar and cocoa are inexpensive yet powerful ingredients. This simple list keeps things budget-friendly without sacrificing moistness or flavor, so you get a moist red velvet cake every time.
Steps to Bake Homemade Red Velvet Cupcakes
1. Prep Your Oven and Wrapper Liners
Preheat your oven to 350°F (175°C). Line a 12-cup muffin pan with cupcake liners. You’ll want to fill each cup about two-thirds full with batter to avoid overflow. Tip: Use high-quality paper liners to prevent sticking.
2. Mix the Dry Ingredients
In a medium bowl, sift together the flour, cocoa powder, baking soda, and salt. This step removes lumps and ensures even leavening.
3. Combine Wet Ingredients
In a large bowl, whisk together the sugar and oil until well blended. Add the egg, then stir in vanilla, red food coloring, and vinegar. Mixing these thoroughly helps lift the batter and build that signature velvet texture.
4. Alternate Adding Dry and Buttermilk
Slowly mix the dry ingredients into the wet, alternating with buttermilk in three parts: dry–buttermilk–dry. This prevents overmixing, which can make cupcakes tough. Stir gently until just combined — the batter should be silky, slightly thick, and a vibrant red.
5. Fill and Bake
Spoon batter into liners, filling about two-thirds full. Bake for 18–22 minutes, checking doneness by inserting a toothpick: it should come out clean with a few moist crumbs attached. Avoid opening the oven door early—it can cause your cupcakes to deflate.
6. Cool Before Frosting
Let cupcakes cool completely in the pan for 5 minutes, then transfer to a wire rack. Frosting warm cupcakes will melt the cream cheese frosting and create a messy slide-off.
7. Make the Cream Cheese Frosting
Beat softened cream cheese and butter on medium speed until smooth. Gradually add powdered sugar and vanilla, beating until light and fluffy. If too soft, chill briefly in fridge for 15 minutes before frosting.
8. Decorate
Use a spatula or piping bag to frost the cooled cupcakes. Simple sugared sprinkles or crushed nuts add an effortless decorative touch. For sunny afternoons, add a fresh raspberry on top for a pop of color.
Sensory cues while baking include a beautiful deep ruby red batter, gentle cocoa aroma before baking, and that unmistakable tangy sweetness as you bite into a frosted cupcake after cooling.
Presentation and Serving Ideas for Homemade Red Velvet Cupcakes
Homemade red velvet cupcakes shine best when served with a little thoughtful presentation — and it doesn’t have to be complicated! For family dinners or special occasions, I like to pipe the cream cheese frosting in soft spirals, letting the peaks add visual texture. A quick sprinkle of finely chopped nuts or red and white themed sprinkles brings eye-catching detail with minimal effort.
These cupcakes pair beautifully with a cup of herbal tea or a glass of cold milk, perfect for winding down after a busy day. Hosting a kid’s party? Line a platter with cupcake liners and color-coordinated napkins for an instant festive vibe. For holidays like Valentine’s Day or Christmas, add edible glitter or a few heart-shaped candies on top for a quick seasonally festive touch.
Serving tip: Keep the cupcakes refrigerated if frosting is made in advance; let them come to room temperature before serving for the best flavor and moist crumb sensation. These red velvet cupcakes also travel well – store them in a sealed container for school bake sales, playdates, or potlucks.
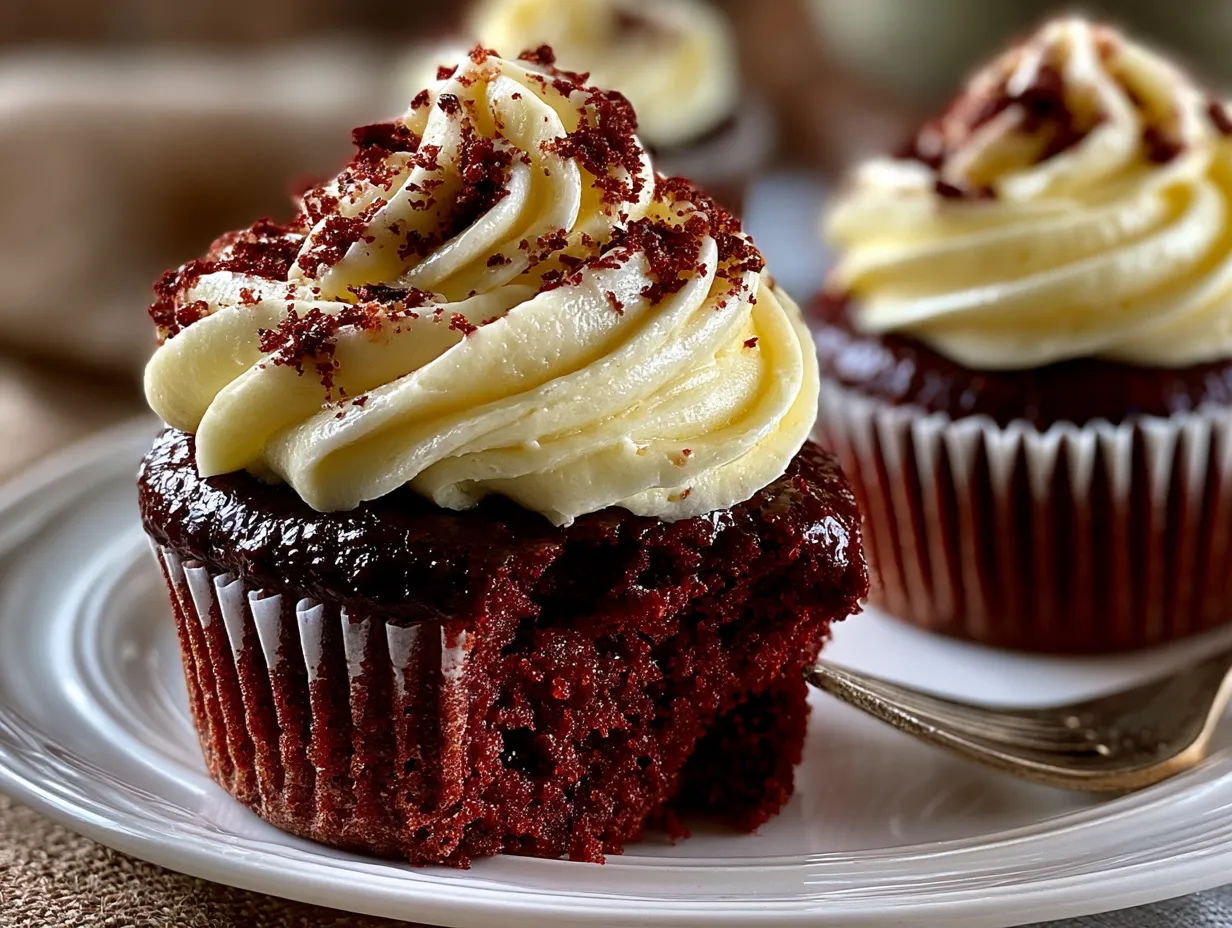
No matter the occasion, these moist red velvet cupcakes always bring a smile, making you the cozy, capable mom who can effortlessly bake homemade treats that taste like a hug on a plate.
FAQs About Baking Homemade Red Velvet Cupcakes
- Why are my red velvet cupcakes dry?
Dry cupcakes usually mean the oven temperature is too high or the batter was overmixed. Be gentle folding ingredients and check oven calibration. Baking time can vary by a few minutes—stick to the toothpick test. - Can I make these cupcakes without food coloring?
Yes, but the classic red velvet color won’t be there. The cake will taste the same but look pale brownish. For natural coloring, try beet juice, but adjust liquids accordingly. - How do I store leftover cupcakes?
Store in an airtight container in the fridge for up to 4 days due to cream cheese frosting. Bring to room temp before serving for softness. - Can I freeze red velvet cupcakes?
Absolutely! Freeze unfrosted cupcakes wrapped well in plastic wrap. Thaw at room temperature and then frost. - What’s the difference between red velvet cake and chocolate cake?
Red velvet uses a small amount of cocoa, vinegar, and buttermilk to create a tender crumb and a slightly tangy, less sweet flavor. The vinegar activates the baking soda, giving that signature lift. - Any tips for smooth cream cheese frosting?
Use room temperature cream cheese and butter. Beat them separately first if needed, slowly adding powdered sugar. Chill if too soft before frosting. - Can I make these cupcakes vegan?
Yes! Use flax eggs instead of eggs, plant-based milk with vinegar for buttermilk, and vegan butter and cream cheese alternatives for frosting. The texture may vary slightly but still delicious.
Conclusion: Your Go-To Homemade Red Velvet Cupcakes Recipe
Making homemade red velvet cupcakes doesn’t have to be daunting or time-consuming. With this recipe, focus on simple, quality ingredients and a few key baking tips for a moist red velvet cake that the whole family will love. Remember to trust the texture cues — silky batter, fluffy but dense crumb, and glossy cream cheese frosting that’s not too sweet but perfectly tangy.
Feel free to tweak the decorations based on the occasion. Try piping soft rosettes for a birthday, or sprinkle crushed dark chocolate shavings for an adult twist. If you’re short on time, a simple smear of frosting and a scatter of sprinkles still delivers that smile-worthy treat.
These cupcakes make potty training tough days easier, school lunchboxes special, or weekend afternoons at home feel like a celebration. So go ahead, grab your mixing bowls, and bake something beautiful and wholesome for your family today. No stress, just that warm, cozy feeling of homemade red velvet cupcakes ready to be shared and enjoyed.
For more quick and wholesome meal ideas, check out my recipes like Grape and Walnut Salad, Cuban Sandwich, or try this delicious Dark Chocolate Zucchini High Protein Cake. Happy baking, mama!
Learn more about homemade red velvet cupcakes from a Southern recipe video, or check out Paula Deen’s classic cream cheese frosting recipe. For alternative methods, watch this Red Velvet Cupcakes Recipe on YouTube.
Homemade Red Velvet Cupcakes
Delight in these moist and fluffy homemade red velvet cupcakes topped with creamy cream cheese frosting, perfect for any special occasion or everyday treat.
- Prep Time: 15 minutes
- Cook Time: 20 minutes
- Total Time: 35 minutes
- Yield: 12 servings
- Category: Dessert
- Method: Baked
- Cuisine: American
Ingredients
- 1 ½ cups all-purpose flour
- 1 cup granulated sugar
- 1 tablespoon unsweetened cocoa powder
- ½ teaspoon baking soda
- ½ teaspoon salt
- 1 cup vegetable oil
- 1 cup buttermilk, room temperature
- 2 large eggs, room temperature
- 2 tablespoons red food coloring
- 1 teaspoon vanilla extract
- 1 teaspoon white vinegar
- For the frosting:
- 8 oz cream cheese, softened
- ½ cup unsalted butter, softened
- 3 cups powdered sugar
- 1 teaspoon vanilla extract
Instructions
- Preheat the oven to 350°F (175°C) and line a cupcake pan with liners.
- In a medium bowl, sift together flour, cocoa powder, baking soda, and salt.
- In a large bowl, whisk the sugar and vegetable oil until combined.
- Add eggs one at a time, beating well after each addition.
- Mix in red food coloring, vanilla extract, and white vinegar.
- Alternately add the dry ingredients and buttermilk to the wet mixture, beginning and ending with dry ingredients, mixing until just combined.
- Divide the batter evenly among cupcake liners, filling each about 2/3 full.
- Bake for 18–22 minutes or until a toothpick inserted comes out clean.
- Allow cupcakes to cool completely before frosting.
- To make frosting, beat cream cheese and butter until smooth, gradually adding powdered sugar and vanilla until creamy.
- Frost cupcakes as desired and serve.
Notes
For extra flavor, add a teaspoon of espresso powder to the batter or garnish cupcakes with fresh berries.