
Mom, what’s for snack?” my seven-year-old asked, flopping next to me on the couch, eyes bright but hands empty. It was one of those busy afternoons where after school chaos meets the pre-dinner hustle—and everyone needs a little fuel. That’s when I pull out my quick solution: No-Bake Peanut Butter Protein Bars. They’re my go-to snack for those moments when we want something wholesome, satisfying, and ready in a flash without turning on the oven.
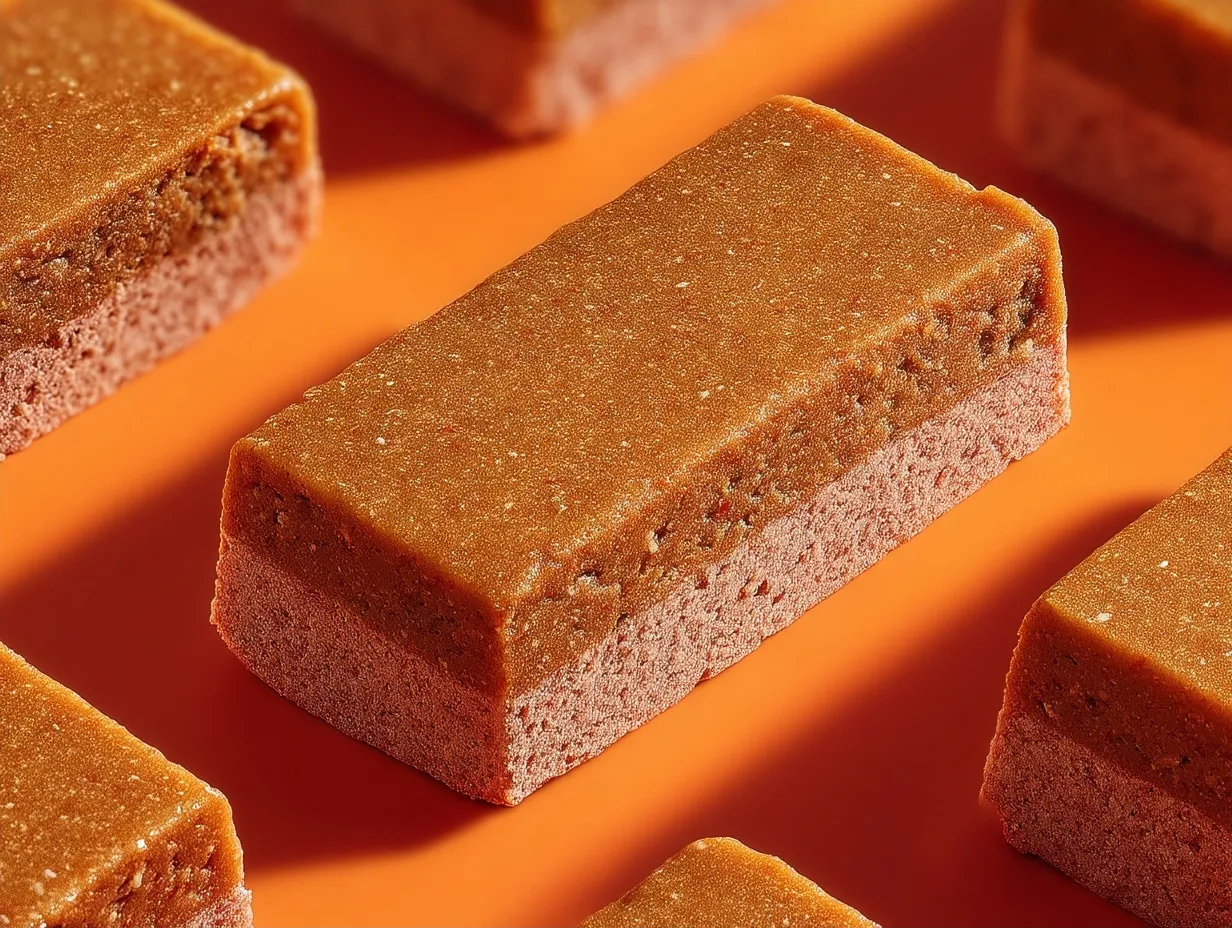
The magic of these peanut butter protein snacks is in their simplicity. They come together with just a handful of ingredients, no baking required, perfect for moms juggling everything from playdates to meal prep. When I mix the creamy peanut butter and protein powder, the kitchen fills with a warm, nutty aroma that reminds me of cozy afternoons spent making treats with my own mom. The bars have a soft but firm texture, just enough chewiness from oats, and the subtle sweetness that keeps my kids—and me—coming back for more.
No-Bake Peanut Butter Protein Bars are more than just a quick fix; they’re a little boost of energy, packed with wholesome ingredients that keep the whole family fueled. Whether you’re packing lunchboxes, need a post-workout pick-me-up, or looking for a healthy peanut butter bar to satisfy those afternoon cravings, this easy no-bake protein bar recipe fits right into your busy life. Ready to whip up a batch that everyone will love? Let’s dive into the ingredients and step-by-step process that make these homemade energy bars a total mom win.
Ingredients for No-Bake Peanut Butter Protein Bars
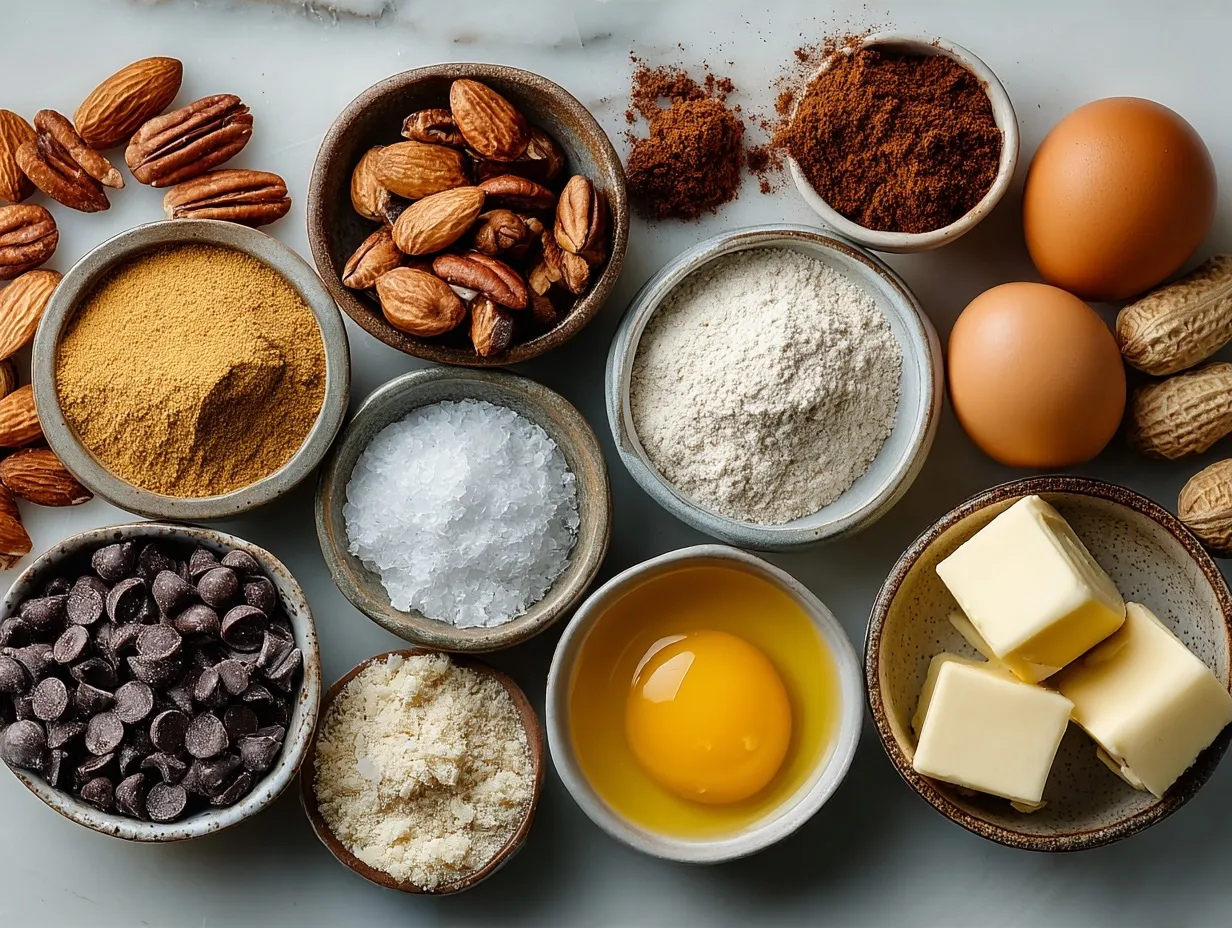
- 1 cup creamy peanut butter (You can swap for almond or sunflower seed butter for allergy-friendly options or budget-friendly peanut butter alternatives)
- 1/2 cup honey or maple syrup (Use whatever sweetener you prefer; maple syrup adds a subtle warmth)
- 2 cups rolled oats (Old-fashioned oats work best for texture; you can use gluten-free oats if needed)
- 1/2 cup vanilla or chocolate protein powder (Choose a clean protein powder your family likes; whey, plant-based, or collagen all work)
- 1/4 cup mini chocolate chips (Optional for a little indulgence; swap with dried fruit or chopped nuts for variation)
- 1 tsp vanilla extract (Enhances flavor but can be skipped in a pinch)
- Pinch of salt (Balances sweetness and brings out the peanut butter’s richness)
Budget and swap tips:
- Use store-brand peanut butter and bulk oats to save money.
- Swap honey for brown rice syrup or agave if you want less sweetness.
- Try adding flaxseed or chia for extra fiber if you have them on hand.
This simple pantry-friendly list keeps your busy life in mind—easy to gather, no fancy prep, and flexible so you can customize based on what you have.
Step-by-Step Guide to Making Your No-Bake Peanut Butter Protein Bars
- Line your pan: Prepare an 8×8 inch baking dish with parchment paper or lightly grease it. This helps you lift the bars out easily once set.
- Mix peanut butter and sweetener: In a medium microwave-safe bowl, gently warm the peanut butter and honey (or maple syrup) for about 20-30 seconds until soft and stir until smooth. This sensory step fills the kitchen with a warm peanut aroma that makes you feel already closer to snack time.
- Add vanilla and salt: Stir in the vanilla extract and a pinch of salt to the warm mixture—these little touches make a big flavor difference.
- Combine oats and protein powder: In a large mixing bowl, combine the rolled oats and protein powder. Make sure to use a spoon or spatula to mix evenly, ensuring every bite is packed with protein goodness.
- Bring mixtures together: Pour the warm peanut butter mixture over the oats and protein powder. Stir thoroughly until everything is well combined. The mixture should look dense but still soft and sticky—add a tablespoon of water or milk if it feels dry.
- Stir in extras: Fold in the mini chocolate chips or your chosen add-ins for a texture and flavor boost.
- Press into pan: Transfer the mixture into the prepared pan. Use a spatula or your hands (lightly oiled or wet) to press it firmly and evenly. Hear that soft squish? That means it’s packed well and will hold together.
- Chill: Place in the refrigerator for at least 2 hours or until firm. If you’re in a rush, 1 hour in the freezer works but avoid freezing too long to keep the bars chewy.
- Cut and store: Once set, lift the whole slab out with parchment paper and cut into bars or squares. Store in an airtight container in the fridge for up to a week, or freeze for longer storage.
Mistakes to avoid:
- Don’t skip warming the peanut butter mix; it helps everything bind smoothly.
- Press firmly but don’t over-compact or bars will be tough.
- Use the right protein powder amount—too much makes them crumbly, too little makes them sticky.
Serving and Presentation Ideas
These No-Bake Peanut Butter Protein Bars are perfect on their own, but I love serving them with a side of crisp apple slices or a handful of baby carrots for a balanced snack. For a busy after-school moment, pack one in a reusable container with a small juice box for your little one’s lunchbox.
At home, slice the bars into bite-sized cubes and stick toothpicks in them for a fun after-dinner treat or family movie snack. They also pair beautifully with a glass of cold milk or a warm cup of herbal tea on chilly days.
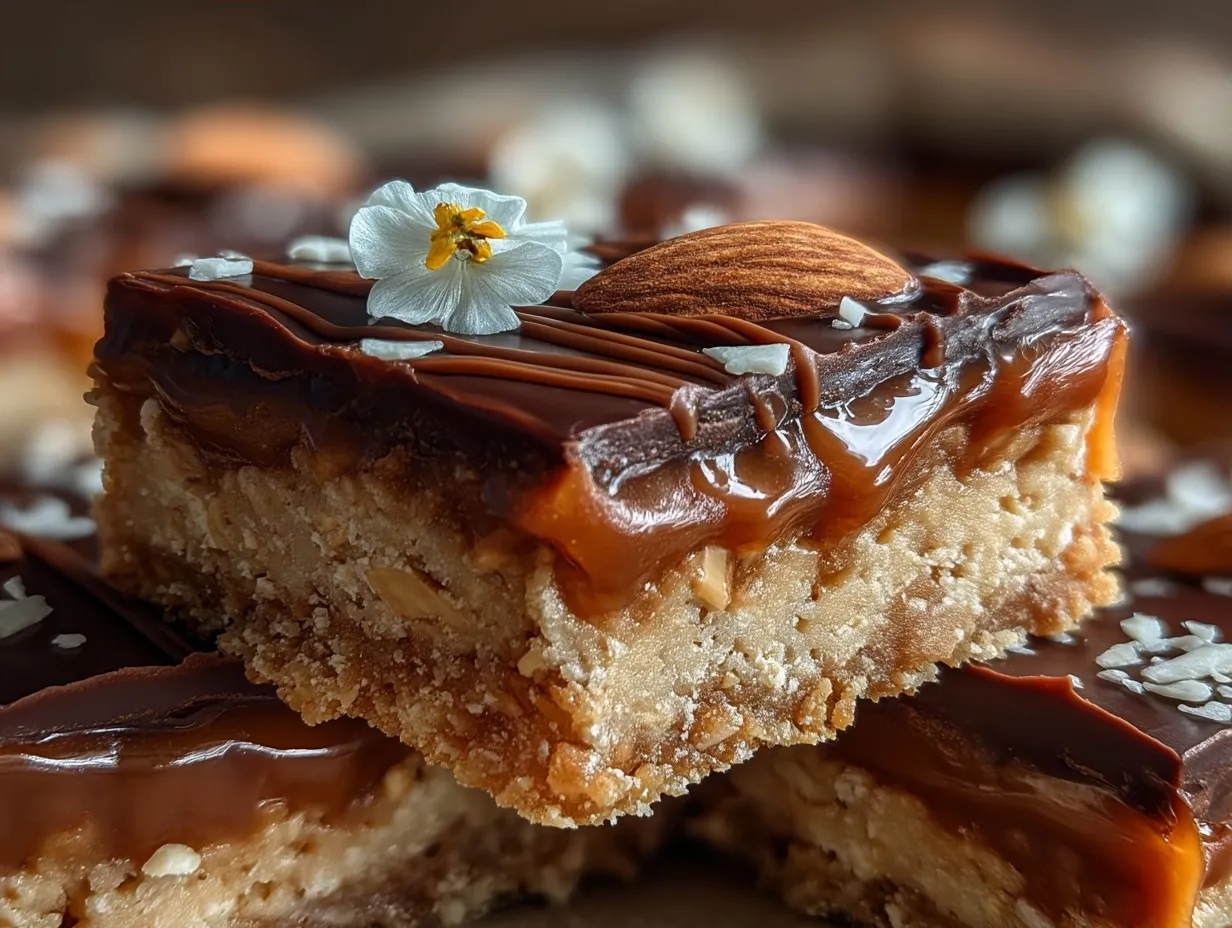
Hosting a playdate? Wrap individual bars in parchment paper tied with twine—it’s an easy, thoughtful way to share a homemade snack. For moms like me who appreciate versatility, add a sprinkle of sea salt on top before chilling for that extra flavor pop.
Whether for a quick energy boost on busy mornings, an afternoon pick-me-up during homework, or a wholesome snack to curb sweet cravings, these bars fit seamlessly into all family occasions. Plus, they’re mess-free and travel well, making them my top choice for the car ride or the park bench.
FAQs About No-Bake Peanut Butter Protein Bars
- Can I use crunchy peanut butter instead of creamy?
Absolutely! Crunchy peanut butter adds lovely texture, but it may make bars a little less smooth. Just be sure to press firmly when setting. - What if I don’t have protein powder?
You can still make the bars without it—just add an extra half cup of oats or a tablespoon of ground flaxseed for added fiber. - How long will these bars keep?
Store refrigerated bars in an airtight container for up to one week. For longer storage, freeze homemade bars for up to 3 months. - Can I make these vegan?
Yes! Use maple syrup or agave instead of honey and plant-based protein powder. Double-check your chocolate chips are dairy-free. - How do I keep the bars from sticking together?
Cut well-chilled bars on parchment paper. If bars stick afterward, separate layers with wax or parchment paper in storage. - Can I substitute oats for something gluten-free?
Definitely. Use certified gluten-free oats or try puffed quinoa or rice cereal for a different texture. - What’s the best way to customize the flavor?
Add cinnamon, shredded coconut, or swap vanilla extract for almond extract. You can also mix in chopped nuts or dried fruit.
Conclusion: Your New Go-To For Quick, Nourishing Snacks
Making homemade No-Bake Peanut Butter Protein Bars is one of those little wins that busy moms will love. They’re straightforward enough to whip up in less than 10 minutes and offer wholesome, satisfying energy that fuels your family’s busy days. Keep a batch ready in the fridge for quick access to peanut butter protein snacks that feel like a treat—not just any snack.
If you’re feeling adventurous, try adding shredded zucchini or swapping a portion of oats with protein-packed quinoa flakes (see my Zucchini Bread Protein Bars for inspiration). Or sneak in bits of dark chocolate like in my Brown Butter Protein Chocolate Chip Cookies for an indulgent twist.
Remember, the best recipes are the ones that fit your family’s flavor and schedule—don’t hesitate to experiment and find your perfect mix. And if you love peanut butter and chocolate together, you might enjoy my Healthy Chocolate Peanut Butter Banana Bites too!
Want more no-bake inspiration? Check out these fantastic easy peanut butter protein bars from other sites:
Here’s to fueling your family with simple, nourishing snacks that save time and bring smiles. Happy snacking, mamas!
No-Bake Peanut Butter Protein Bars
Delicious and nutritious no-bake peanut butter protein bars that are perfect for a quick snack or post-workout fuel. Easy to make with wholesome ingredients and packed with protein.
- Prep Time: 10 minutes
- Cook Time: 0 minutes
- Total Time: 10 minutes
- Yield: 10 bars
- Category: Snack
- Method: No-Cook
- Cuisine: American
Ingredients
- 1 cup natural peanut butter
- 1/2 cup honey or maple syrup
- 2 cups rolled oats
- 1/2 cup vanilla protein powder
- 1/4 cup ground flaxseed
- 1/4 cup mini dark chocolate chips (optional)
- 1 tsp vanilla extract
- Pinch of salt
Instructions
- In a medium bowl, combine the peanut butter and honey until smooth.
- Add the vanilla extract and mix well.
- In a separate large bowl, stir together the rolled oats, protein powder, ground flaxseed, and salt.
- Pour the peanut butter mixture into the dry ingredients and stir until fully combined.
- Fold in the mini dark chocolate chips if using.
- Line an 8×8 inch baking dish with parchment paper and press the mixture firmly into the dish.
- Refrigerate for at least 2 hours or until firm.
- Once set, cut into bars and store in an airtight container in the fridge.
Notes
For extra crunch, try adding chopped nuts or seeds to the mixture before refrigerating.